To adjust ballasting, Minnebot has three large ballasting plates, four end anodes (the ones with a lip), and two edge anodes (the ones without a lip). These must be affixed in the following ways:
- Plates: MX3x16 screws with spacers, if possible. If no spacers, MX3x12's (or even MX3x10's). If in salt water, apply silicone grease liberally to plate.
- End Anodes: MX3x16 screws. Two is ideal, one will work.
- Edge Anodes: MX3x16 screws. Two is nessecary.
Ballasting Weights
| End Anode | Edge Anode | Smallest Plate | Middle Plate | Largest Plate | Mirror | |
| Weight (lb/oz.) | 2 oz. | 1.75 oz. | 10.625 oz. | 1 lb, 3.5 oz. | 2 lb, 7.125 oz. | 4.875 oz. |
| Weight (kg/g) | 55 g. | 50 g. | 302 g. | 552 g. | 1kg, 108. | 137 g. |
Testing a Ballast Configuration
To test a new configuration, follow these steps.
- Double and triple check that the robot is water tight. All screws must be fully screwed in with silicone grease applied to holes, the battery doors must be closed, with silicone grease applied, and all plates and anodes must be securely screwed in. Do not overtighten, but tighten.
- Drown the robot. Place it in the water, watching carefully for bubbles. During this process, some bubbles will occur, but make sure that you know where they are from. The heat vents, and battery door flaps both trap air, make sure to empty them by undoing the flaps and running your fingers through them. Take care not to open the battery doors. The following places are culpraits which trap air:
- The underside of the robot.
- The underside of the flippers.
- The heat vents.
- The battery door flaps.
- Under any plates with spaces.
- Once the robot is free of air bubles, test buoyancy and balance by letting got of the robot.
- It should be very slightly positively buoyant, never negative, and it should not list heavily to either side, the front, or the rear. If it does, or is not the proper buoyancy, you need to rebalast.
- If not, try swimming it to see how the trim is. If the robot is unstable during swimming, you may need to reconfigure ballast, or you may have a configuration issue. Check both.
Some known configurations follow below. Note that all ballasting configurations are under development, specific to this robot and the hardware configuration listed, and YMMV. If you find configurations that work better, please update the wiki.
LIPO Batteries, Carbon Fiber Flippers, No Mirror.
- The largest ballast plate is affixed to the bottom with spacers.
- Smallest ballast plate attatched with spacers toward the front.
- Two end anodes attatched to the front.
- One end anode attatched to the back, on the right side.
- One edge anode attatched the back right side, two screws in.
Total added weight (lb/oz) = 9 lb, 8.5 oz.
Total added weight (kg/g) = 4 kg, 323 g.

LIPO Batteries, Carbon Fiber Flippers, Mirror affixed on
The largest ballast plate is affixed to the bottom with no spacers.
- Smallest ballast plate attatched with spacers toward the front.
- Two end anodes attatched to the front.
- One edge anode attatched the right side, just behind the middle hip joint.
Total added weight (lb/oz) = 10 lb, 4.16 oz.
Total added weight (kg/g) = 4 kg, 655 g.
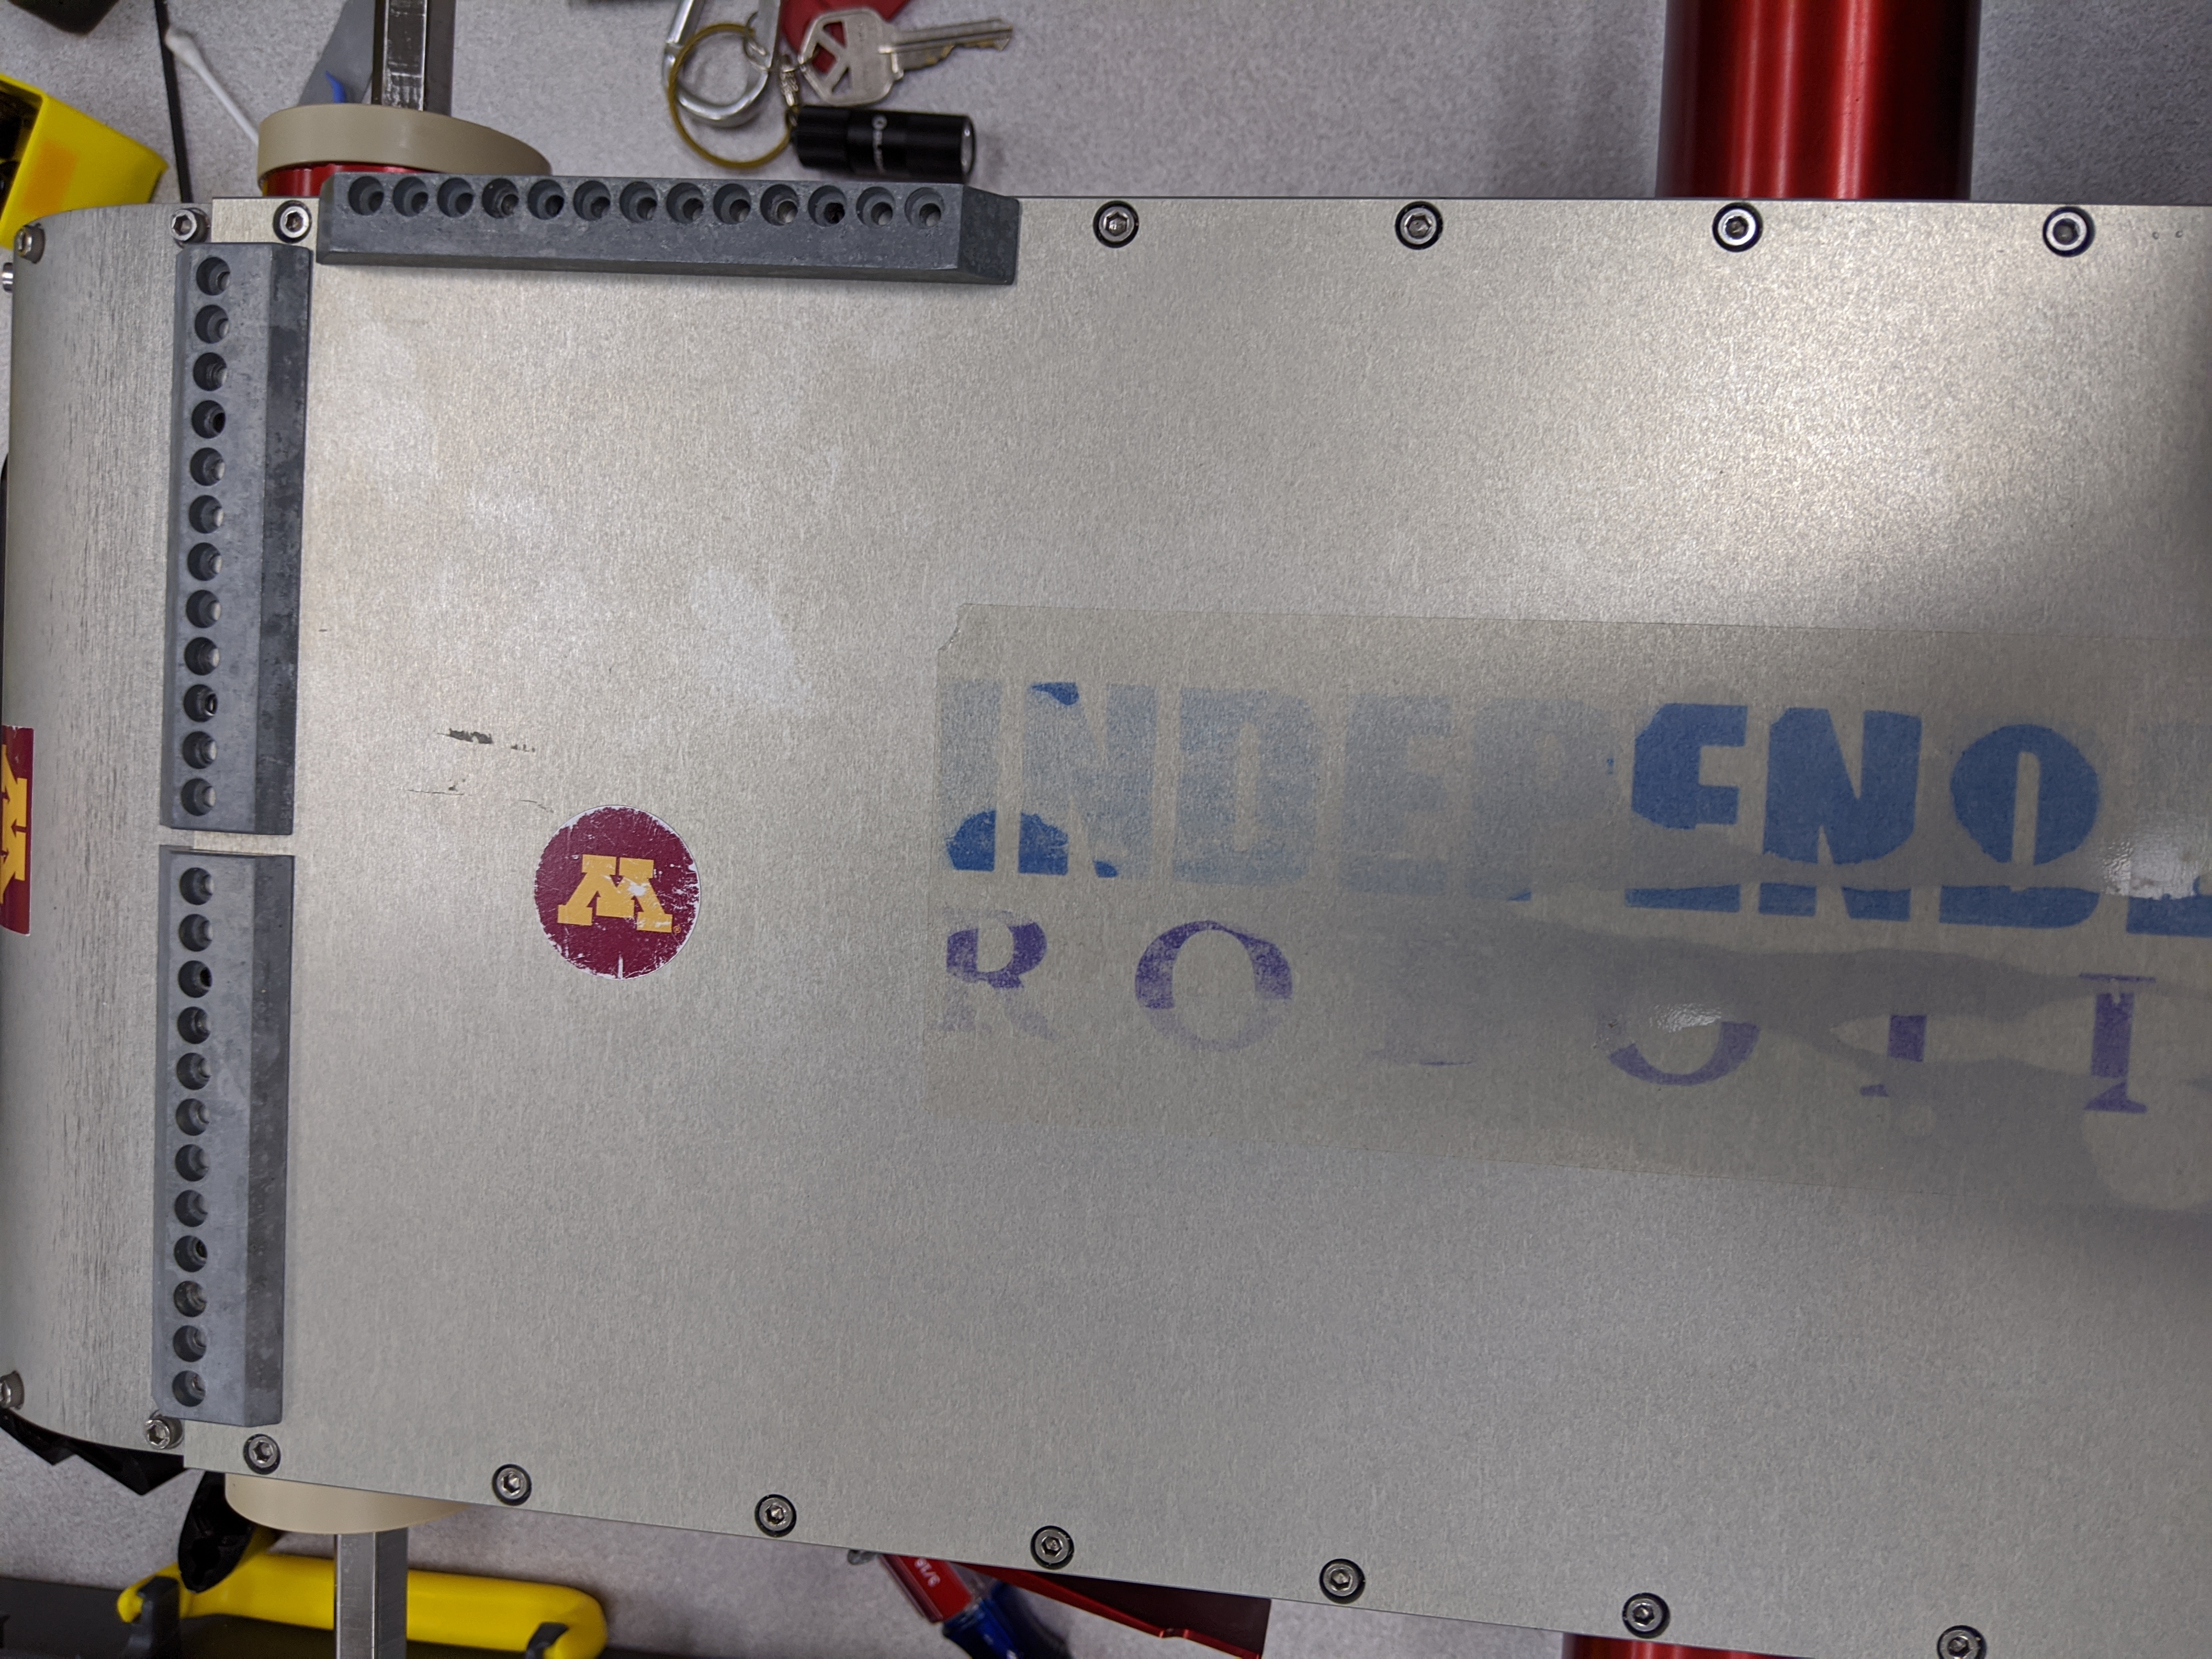
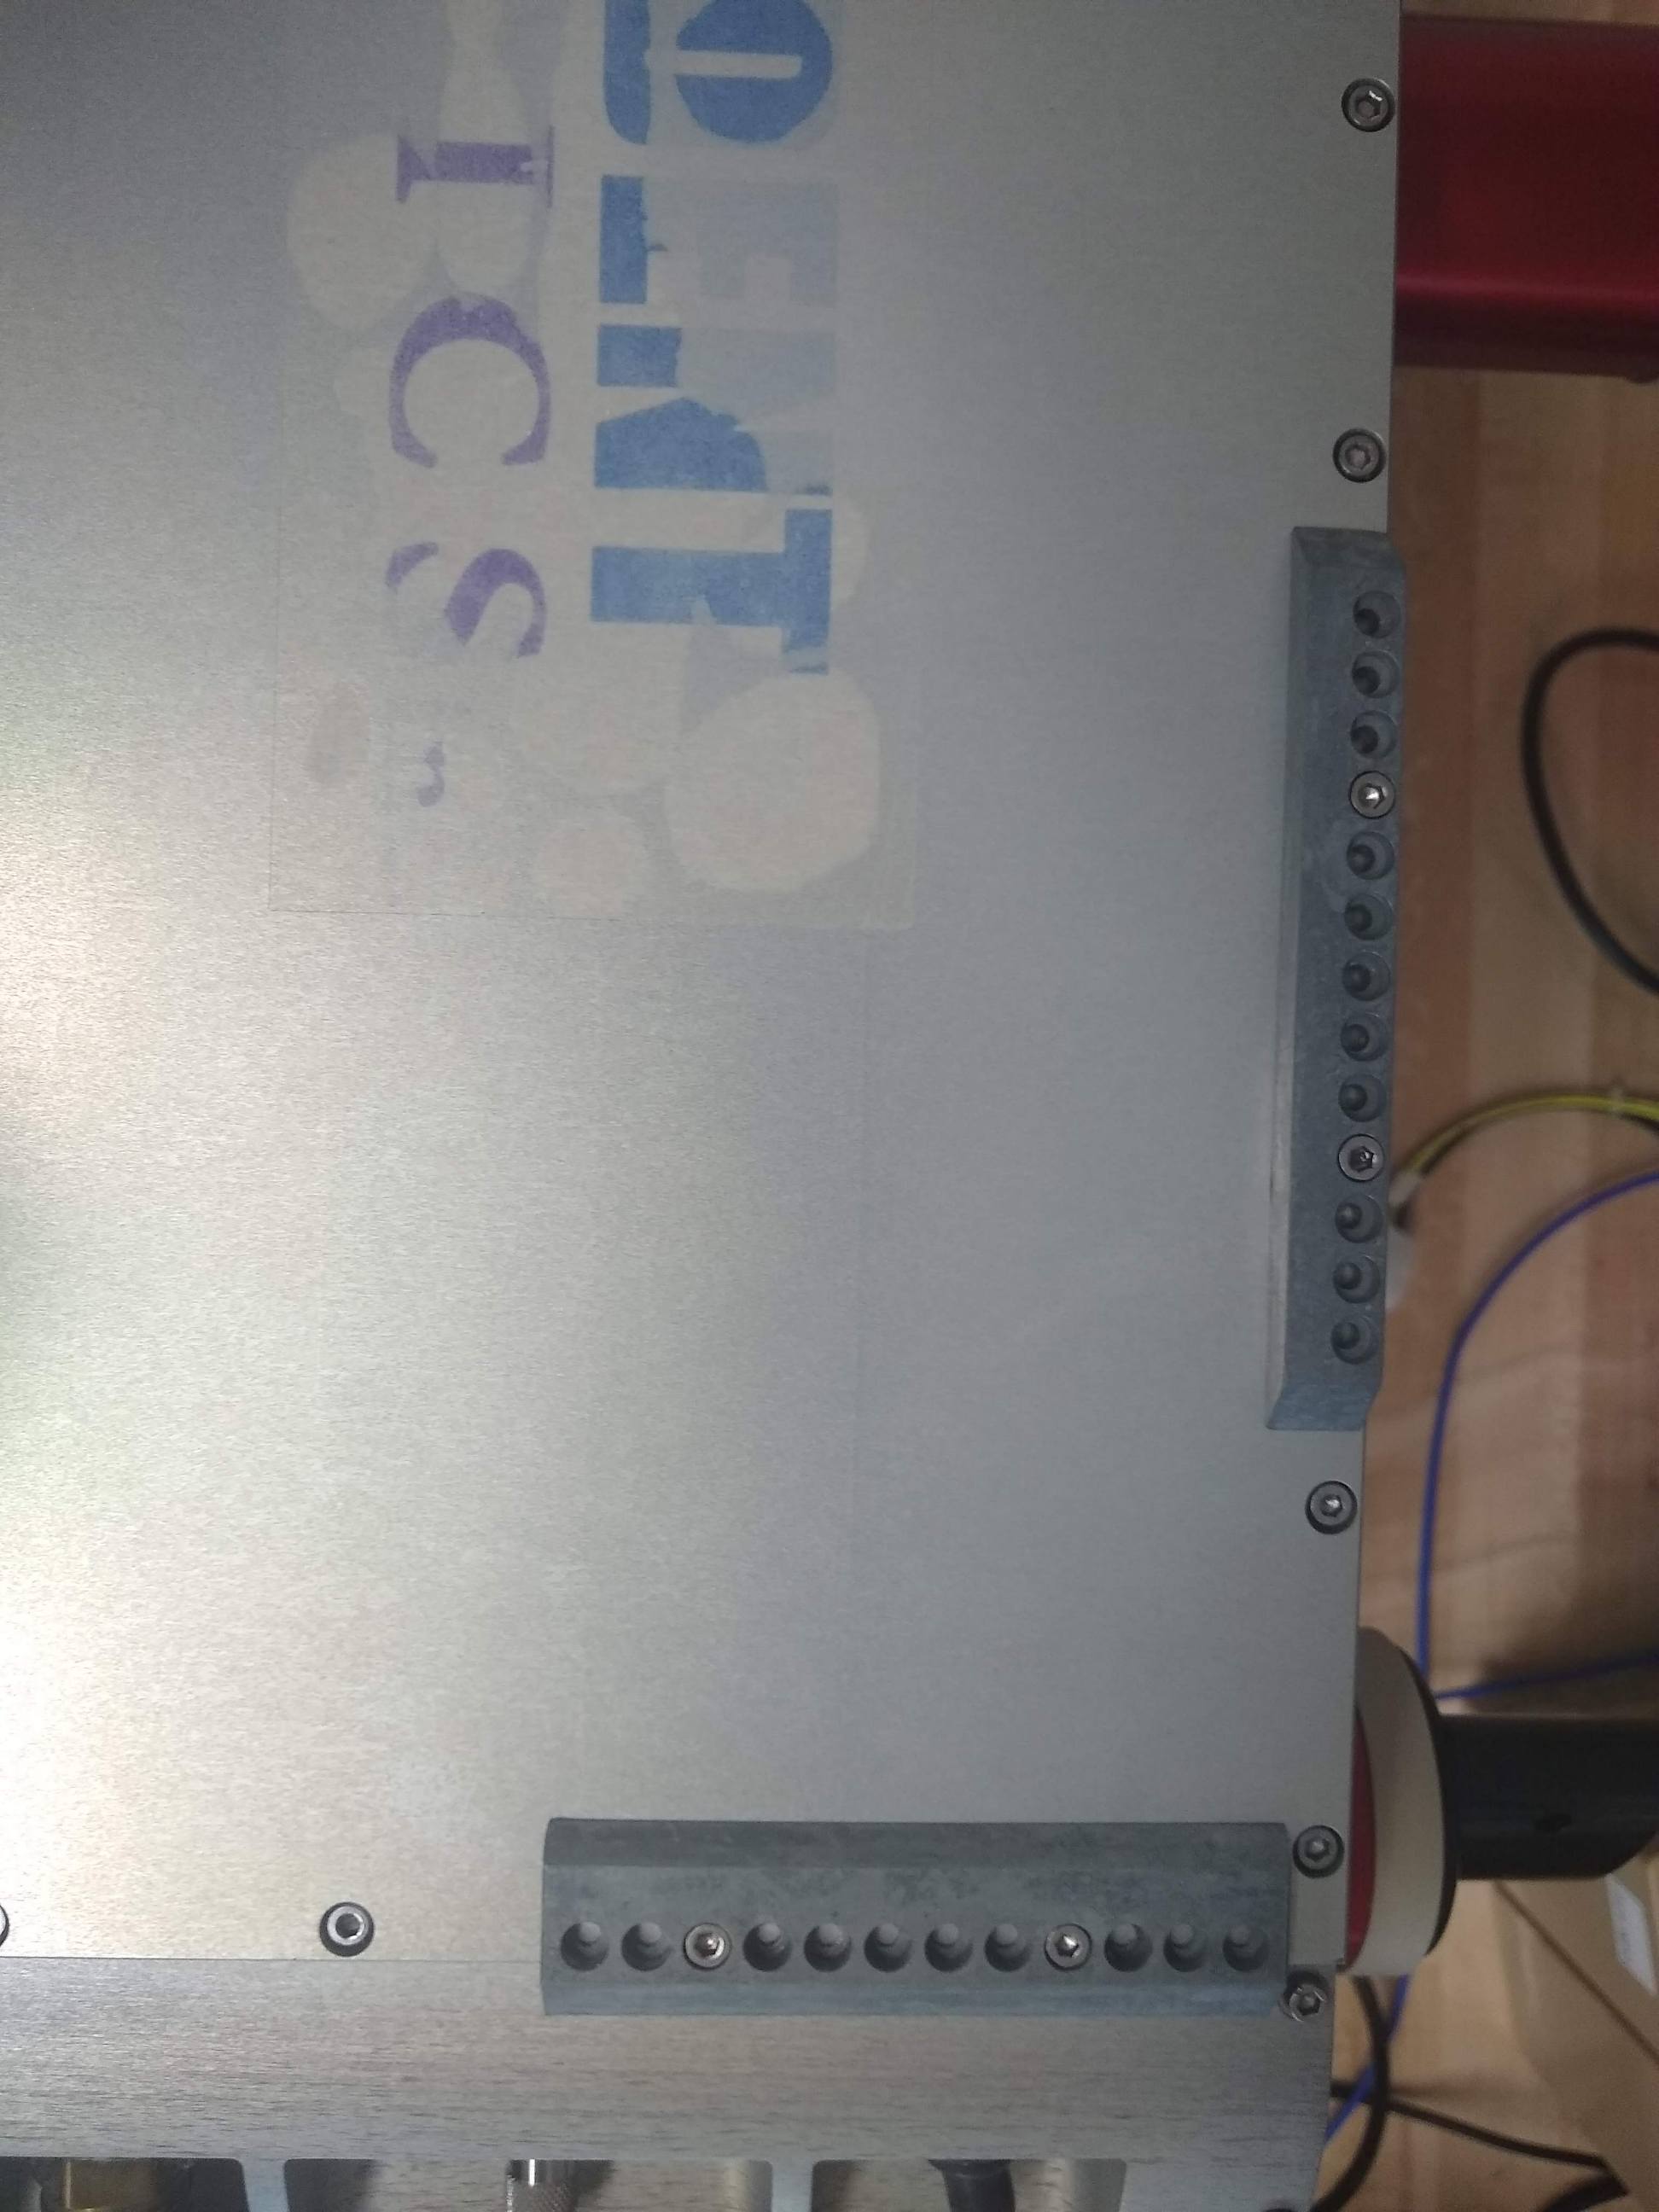
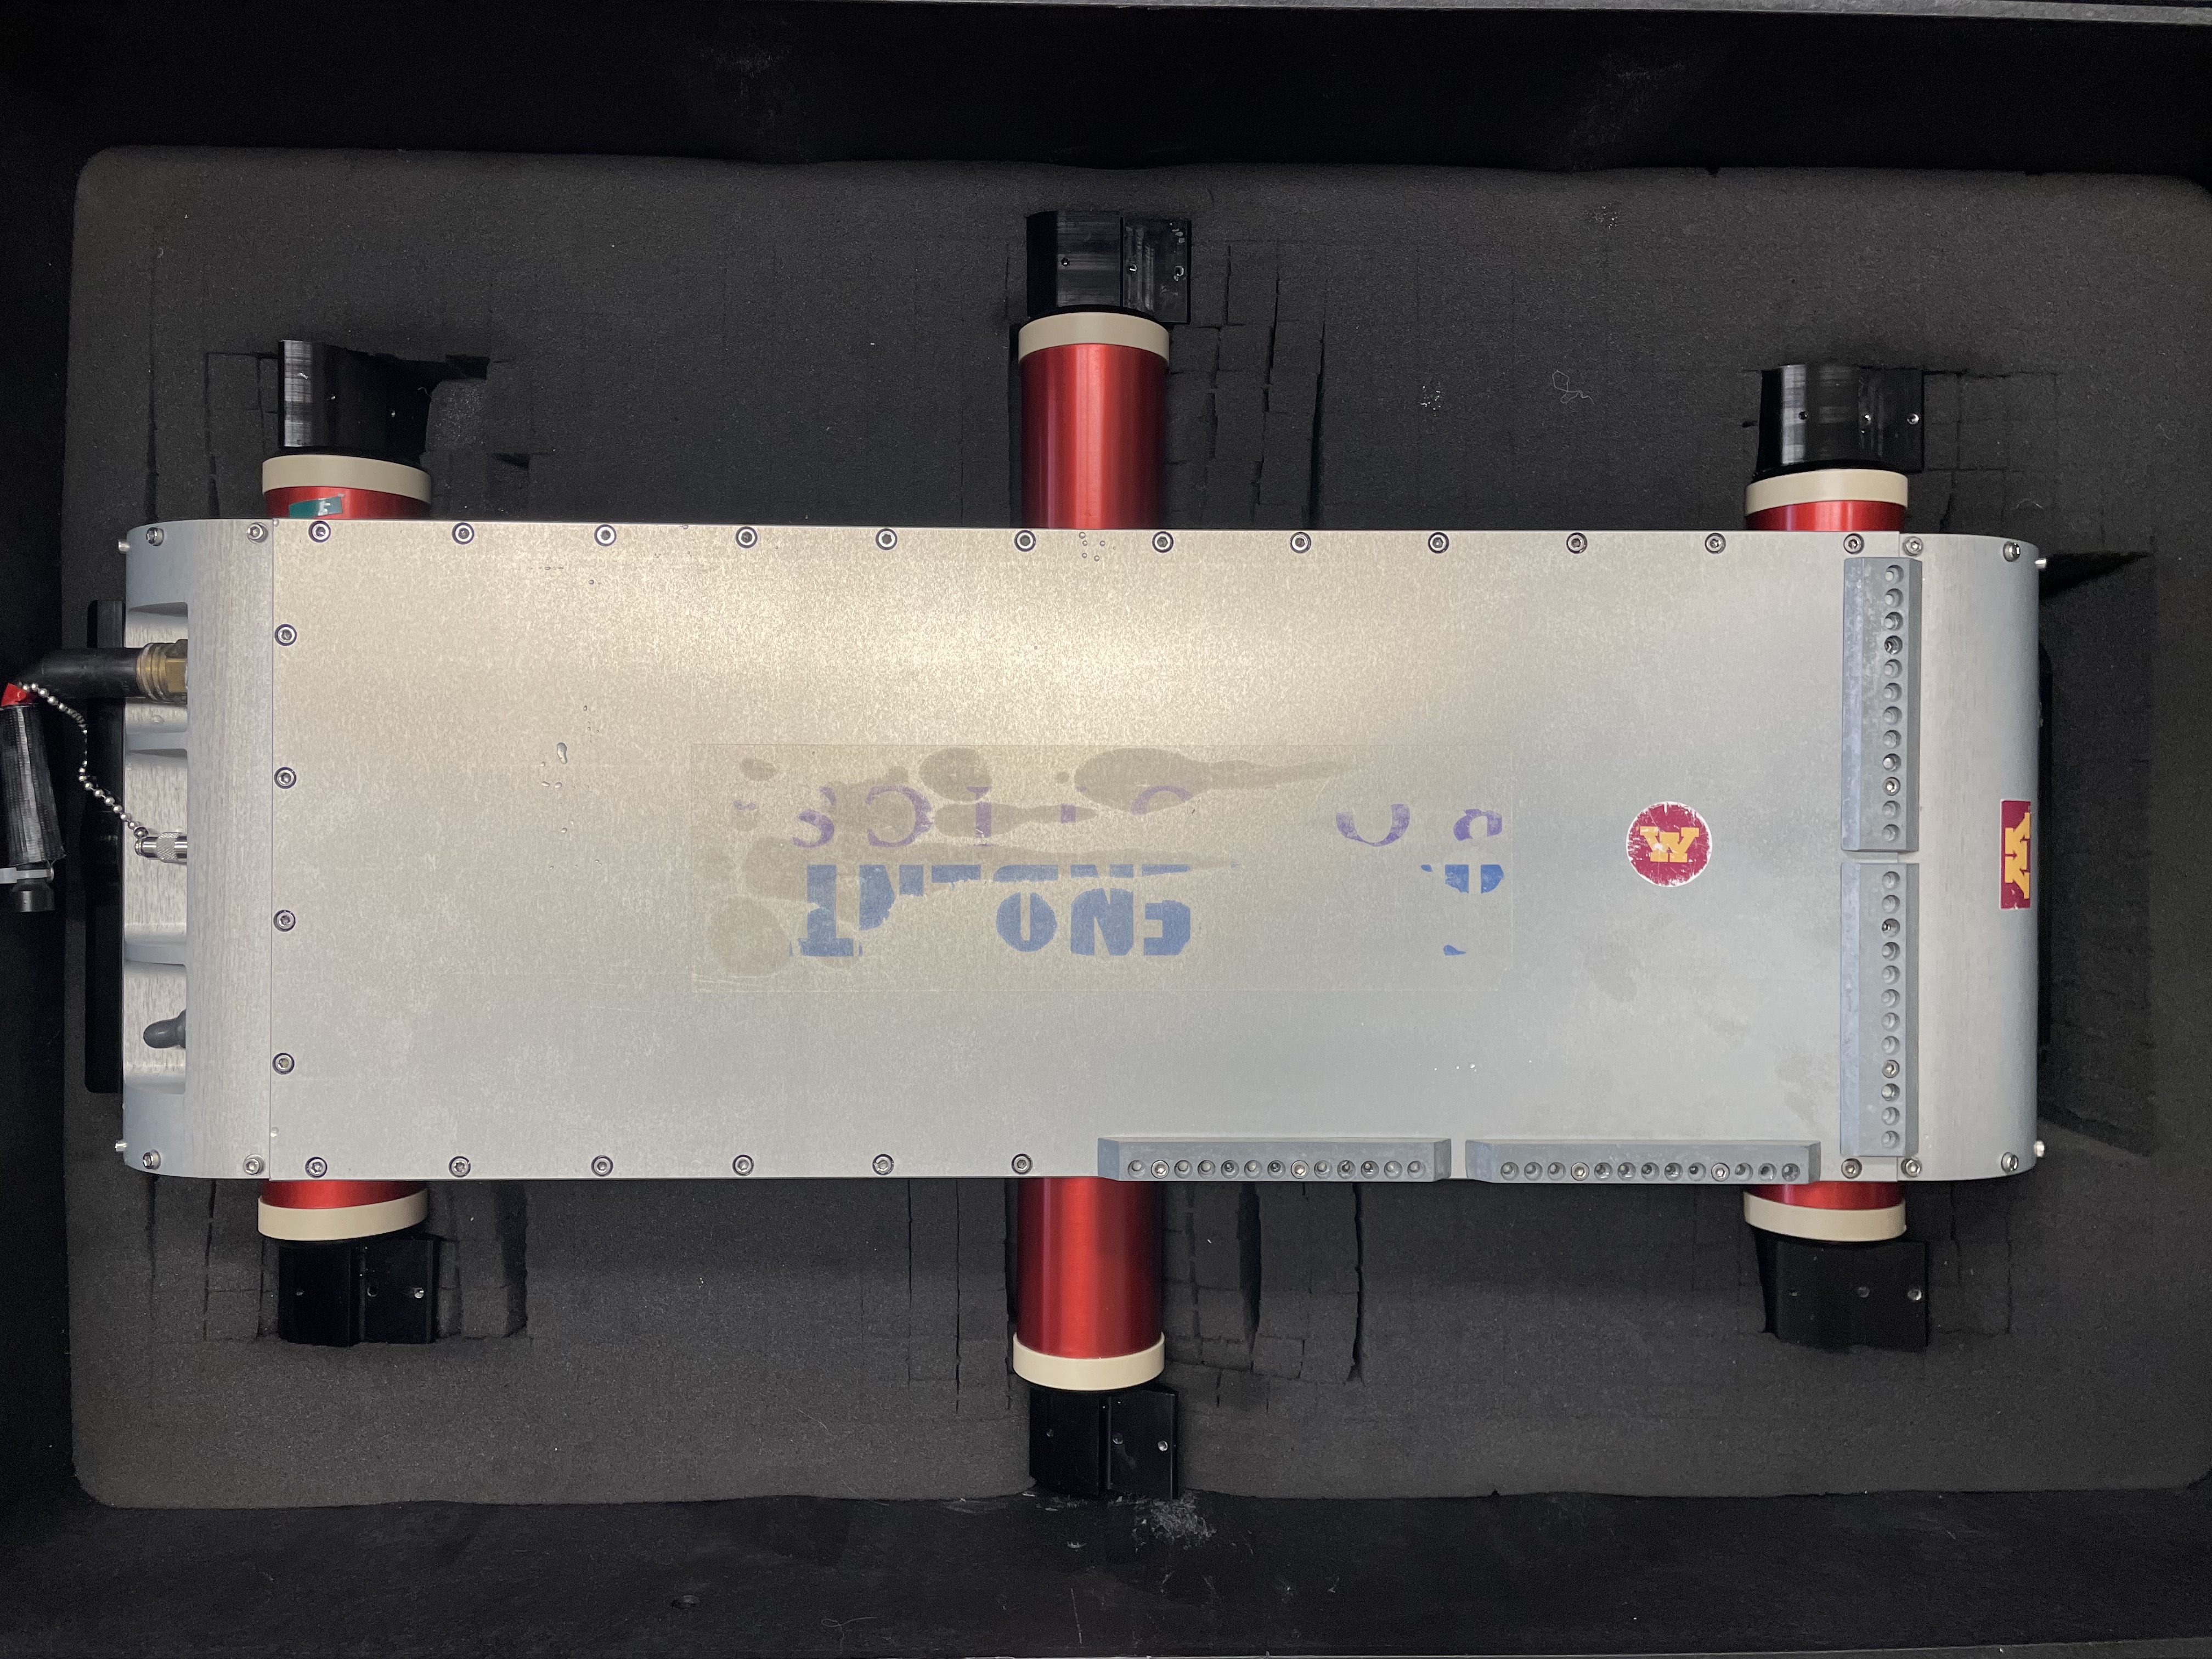
Aqua with Jetson (Jan 2022): LIPO Batteries, Carbon Fiber Flippers, No Mirror (Pool environment)
- The largest ballast plate is affixed to the bottom with spacers.
- Two edge anodes are attached to the front. Only one screw per anode is used due to the worn-out screw holes on Aqua. Refer to the picture and make sure to place screws on the correct holes.
- Two end anodes are attached to the back, on the right side.
NIHM Batteries
- The largest ballast plate is affixed to the bottom with spacers.
- Two end anodes attached to front.
- One edge anode gorilla taped to right side, as far forward as possible.